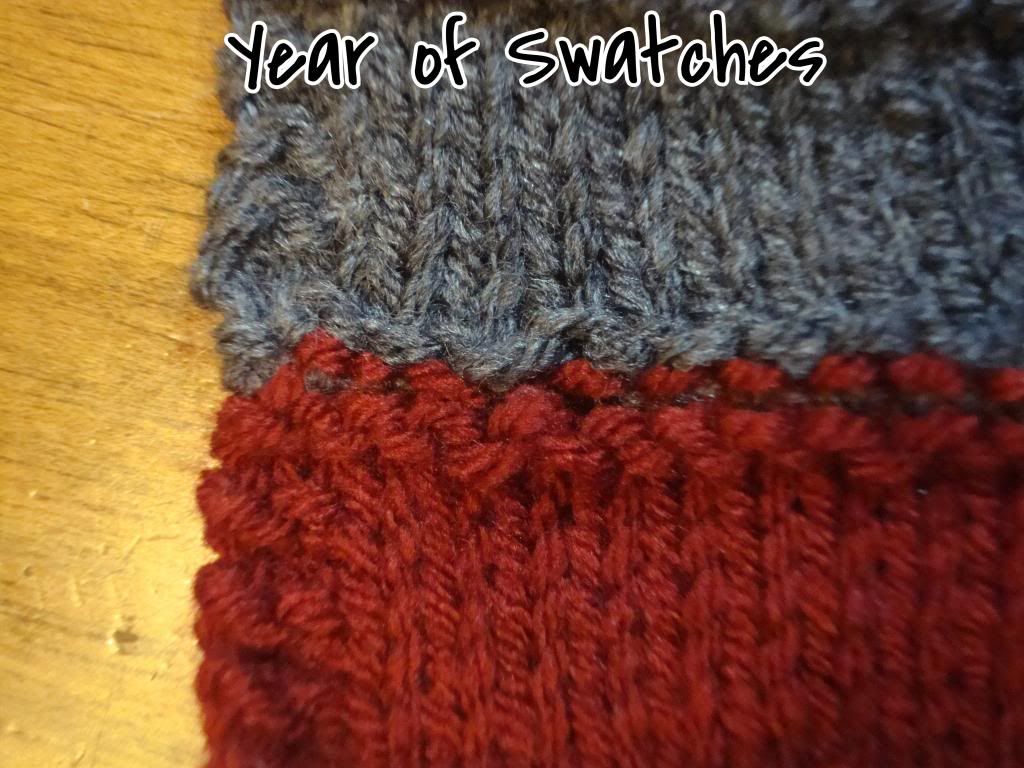
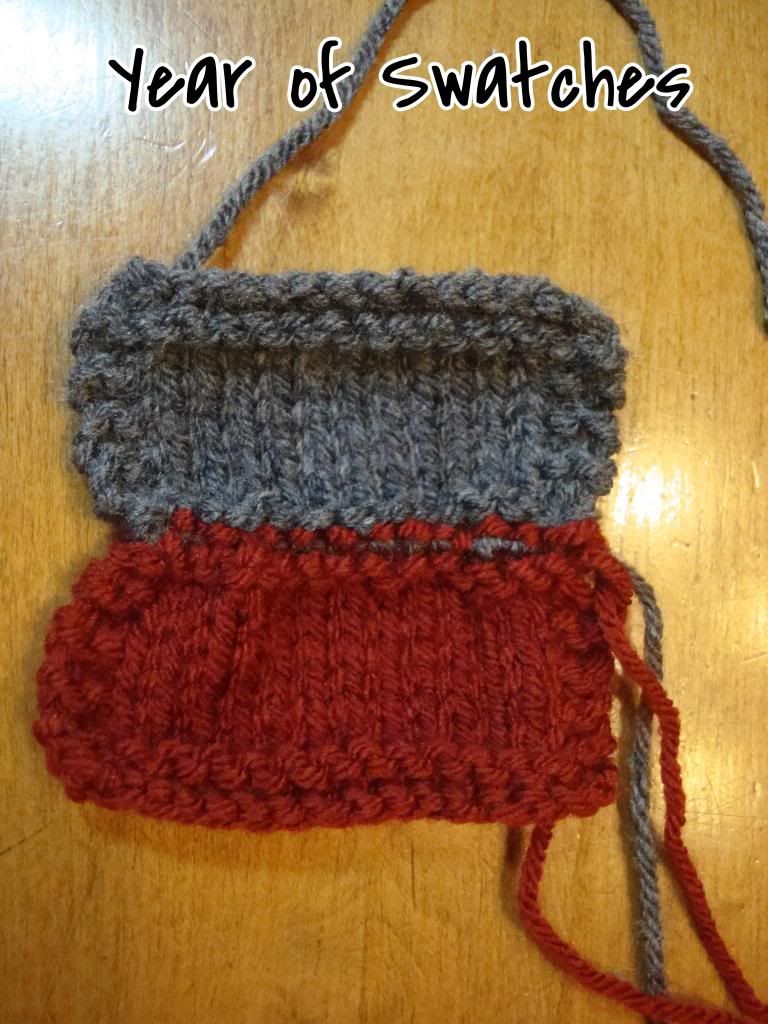
Today is the first of our two finishing clues. We will start by grafting the two pieces together using a technique called Kitchener stitch.
Grafting is a handy task to learn because it allows you to
join two pieces of work, seamlessly, while the stitches are still "live’’ rather
than after they have been bound off.
Grafting can be done either with stockinette or garter stitches and the
technique is different for both. The
tutorial I like to use can be found here. The illustrations in this article are for stockinette stitch, and since we are going to be
grafting in garter stitch, I have made a photo
tutorial for you to follow.
If you are grafting for the first time, or need a refresher,
PLEASE do this during a quiet moment when you will be most likely to finish it
in one sitting without interruption (the process shouldn’t take you any longer than 30 minutes if it’s your first time). The
worst thing would be for you to set it down and not remember where you are when
you pick it back up. The first couple of
stitches in this grafting sequence will seem a little strange at first, but
there is a rhythm to it that you’ll soon pick up.
I’ve done both a photo tutorial as well as an abbreviated written version to
follow. When I graft, I like to look at
the pictures first to orient myself, but find that the words carry me through once
I’ve started.
For this project, and really any time you’re grafting, you
want your graft to match the tension of your knitting. It’s kinda like Goldilocks, you don’t want it
too loose nor too tight, but just right.
I’ve found that if your grafting is too loose it is way easier to fix
than if it is too tight, however the best option would to get it to be as close as possible. How do you
achieve this? Look at your knitting as
you go. Grafting is seamless , so your
graft should look exactly like your knitting. You don’t want the graft to pucker in (too
tight) or out (too loose) so keep an eye out.
I recommend pulling the stitches through until they meet, but not so
they are snug.
After you graft the piece together, there will be another
post on how to block your work as well as some follow up info. Take your time and enjoy the process!
THINGS YOU'LL NEED
Take the tail of yarn from the second half of your scarf and cut a length at least three times the length of your knitting (3-4 feet of yarn should do).
THINGS YOU'LL NEED
Take the tail of yarn from the second half of your scarf and cut a length at least three times the length of your knitting (3-4 feet of yarn should do).
A darning needle or other large eyed needle. The same as you’d use
for sewing in ends.
PREPARE FOR THE GRAFTING!
Thread stitches from stitch holder onto your spare needle
with the working yarn facing in- toward the inside of the needle (yup- opposite of what you'd normally do). This will be your back needle.
Thread your darning needle with tail of the front needle.
Hold the two halves of your scarf wrong sides together with the tips of the needles pointing to the right.
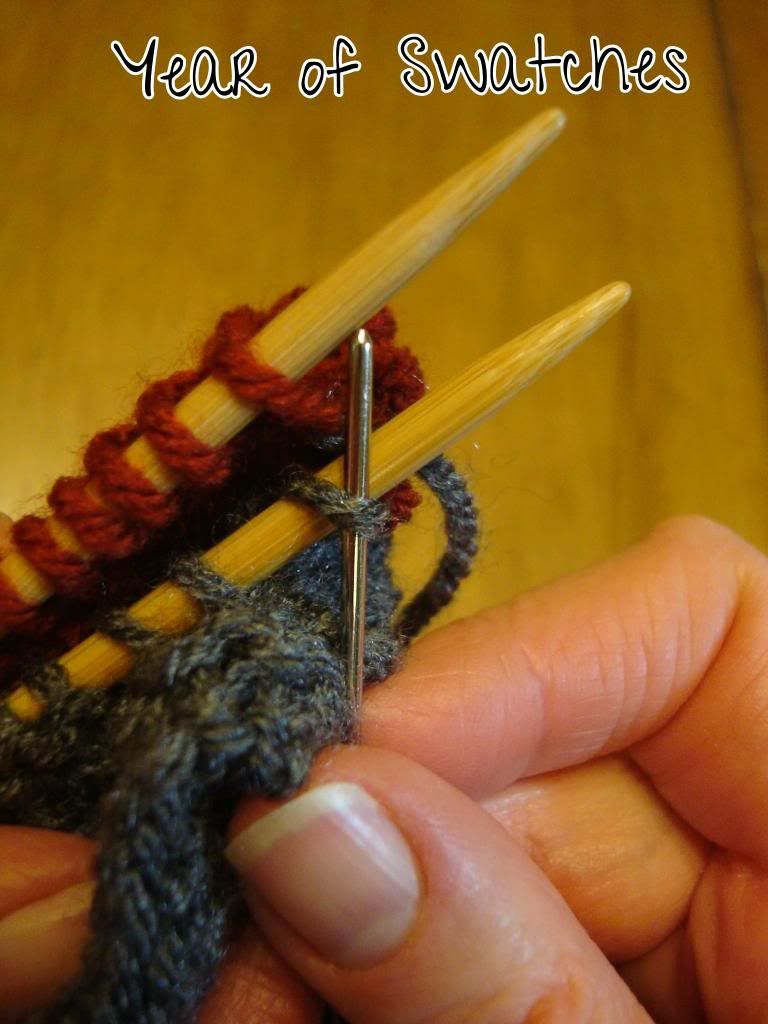
Insert the darning needle into the first stitch on the front needle
as if to purl and thread the yarn through.
Then, insert the needle into the first stitch of the back needle as if to
purl and pull the yarn through. Make the
stitches snug but NOT tight. Take care not to ‘’create’’ extra loops by looping
the yarn over the needles.
KITCHENER STITCH:
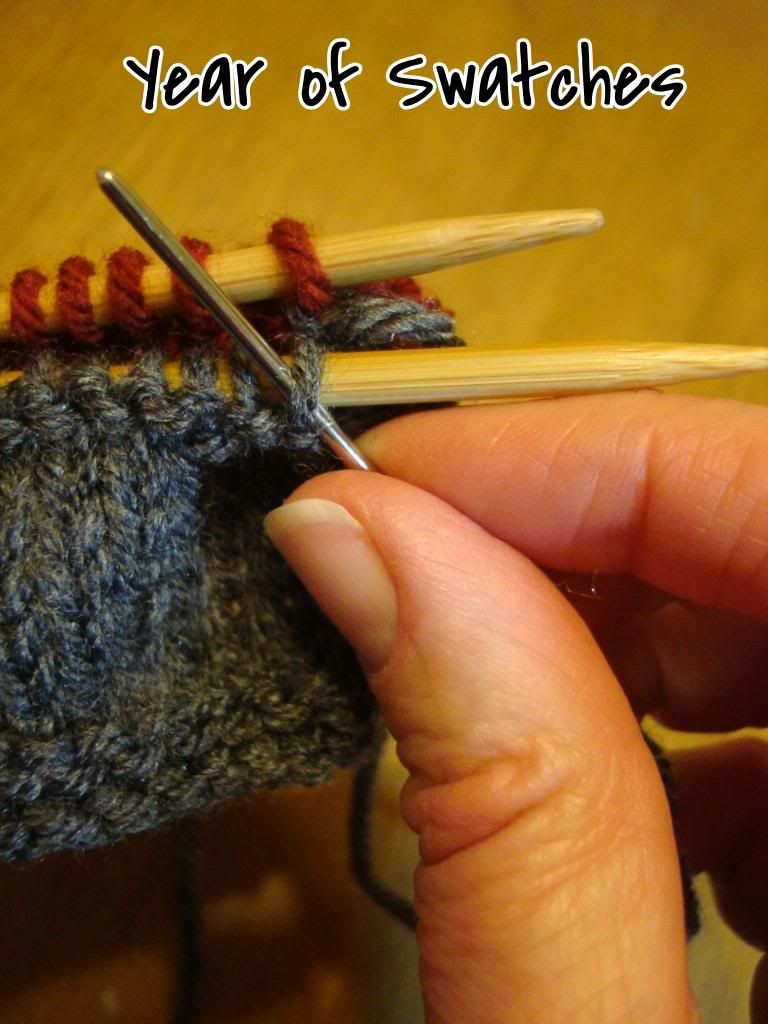
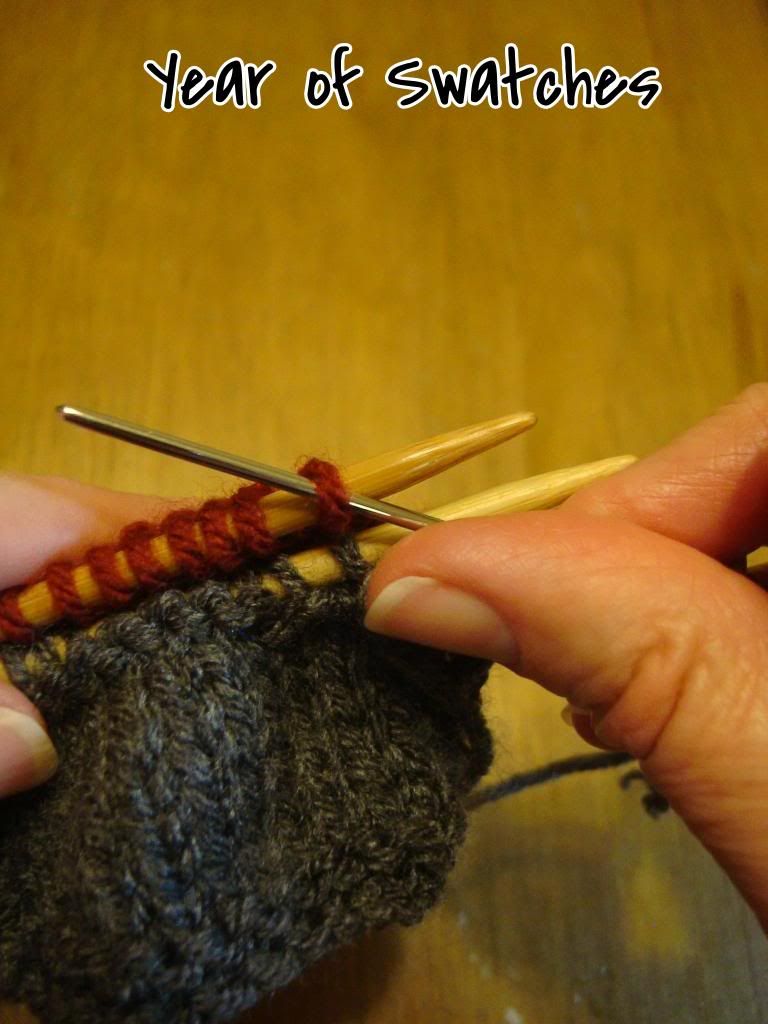
1- FRONT NEEDLE: Insert the needle into the first stitch on
the front needle as if to knit and slip that stitch off the needle.
2- FRONT NEEDLE: Insert the needle into the next stitch on
the front needle as if to purl, pull the yarn through but leave the stitch on
the needle.
3- BACK NEEDLE: Insert the needle into the first stitch on
the back needle as if to knit and slip that stitch off the needle.
4- BACK NEEDLE: Insert the needle into the next stitch on
the back needle as if to purl, pull the yarn through but leave the stitch on
the needle.
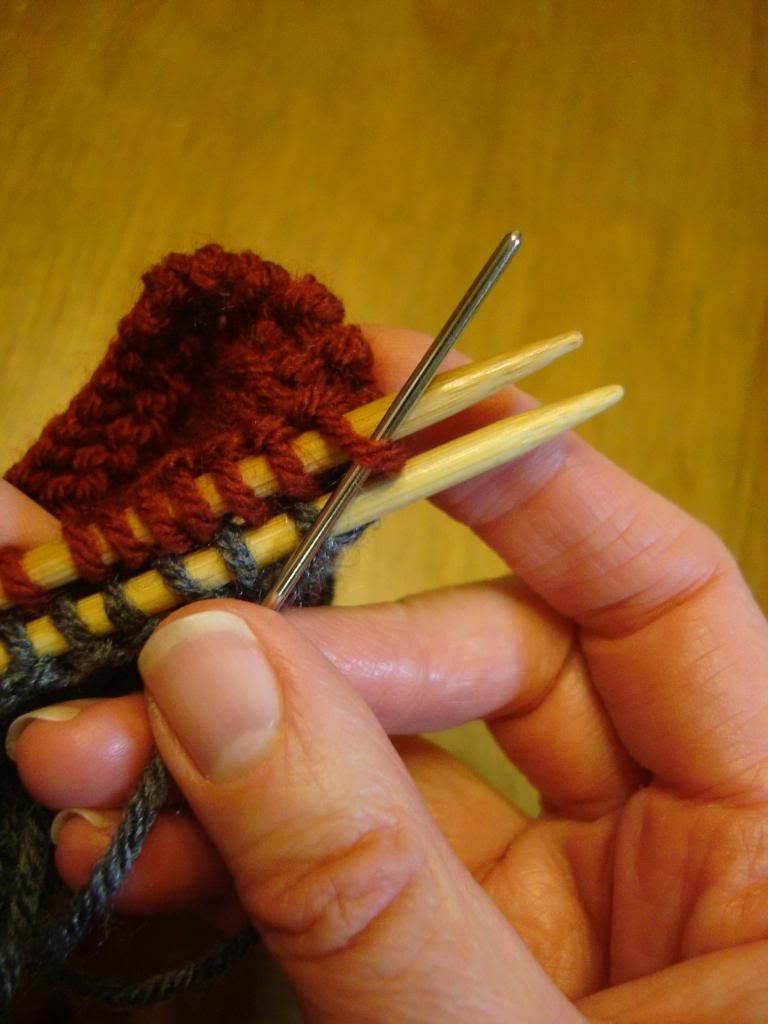
Repeat these four steps until you come to the final stitch
on each needle. Thread the needle
through the front stitch as if to knit and slip it off the needle. Then thread the needle through the stitch on
the back needle as if to knit and slip it off the needle.
To correct a graft that is too tight:
 |
| Tug the two sides of your knitting away from each other. |
To correct a graft that is too loose:
 |
| Tug the end of your sewing yarn to tighten. |
You can manipulate that thread until your sewing looks
right.
Sew in all ends.
Abbreviated Instructions:
1.
FRONT NEEDLE: Knit and slip off the needle
2.
FRONT NEEDLE: Purl
and leave on the needle
3.
BACK NEEDLE: Knit and
slip off the needle
4.
BACK NEEDLE: Purl and
leave on the needle
I hope your grafting goes well. See you tomorrow for blocking!
Thank you again for all the time you put into this lovely project, well done !!
ReplyDeleteIt has been a pleasure! Thank you for knitting :)
Delete